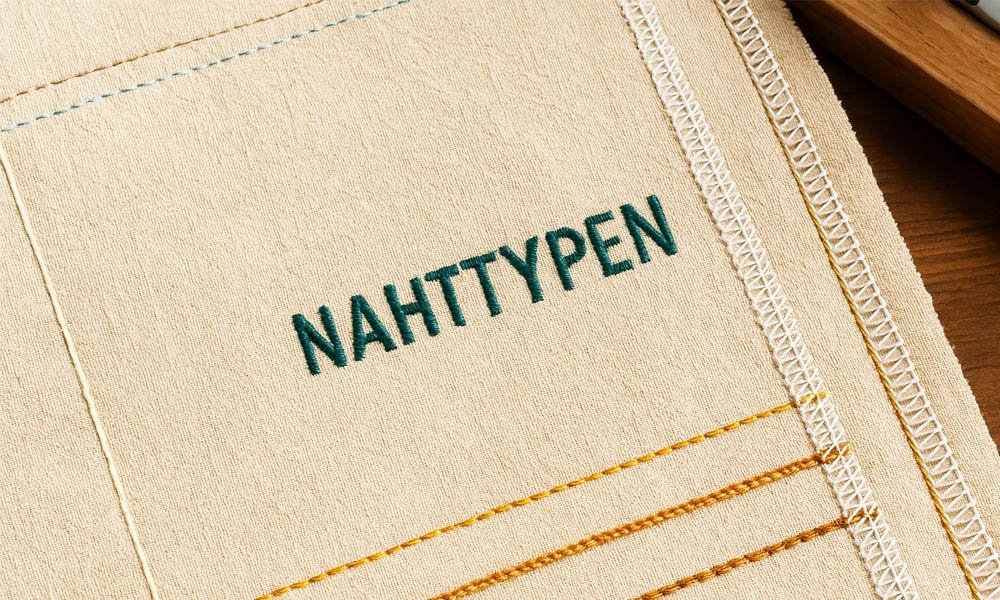
If you’ve ever sewn two pieces of fabric together, then you’ve already used a Nahttyp—even if you didn’t know the name for it. The word Nahttypen simply means types of seams in German. And whether you’re sewing a simple pillow cover or a fancy dress, the kind of seam you choose makes a huge difference.
Think about it. Some seams are super strong. Others are stretchy. Some look really pretty on the outside, while others are meant to be hidden. Choosing the right seam can mean the difference between a project that falls apart in the wash and one that lasts for years.
In this guide, you’ll learn all about Nahttypen—what they are, when to use them, and how to avoid the common mistakes that make sewing harder than it needs to be. Whether you’re a beginner or a pro, this guide will make your sewing smoother, stronger, and more fun.
What Are Nahttypen? (Seam Types Explained Simply)
Let’s start at the beginning. A Nahttyp is just a way to join fabric together using stitches. But not all seams are created the same. Some are for strength. Some are for looks. Some are for stretchy fabrics. And some protect the edges so the fabric doesn’t fray.
Here are a few common reasons why people use different seam types:
-
To keep fabric from falling apart
-
To allow stretchy clothes to move with the body
-
To create a neat, professional look
-
To match the needs of thick, thin, or slippery fabric
-
To add a little extra style or design
So when you hear the word Nahttypen, just think of it as the “right way to sew” for the fabric and the job you’re doing. One seam type might be perfect for a denim jacket, but totally wrong for a silk blouse. That’s why knowing your seam types is so important.
The 7 Most Common Seam Types and What They’re Used For
There are many types of seams out there, but let’s look at the seven most useful ones that every sewist should know. These show up in everything—from t-shirts to curtains to jeans.
Plain Seam
This is the most basic seam. You place two fabric pieces together, sew a straight line, and you’re done. It’s used in almost all clothing and is great for beginners.
Example: Think of sewing two cotton pieces together to make a simple tote bag.
Zigzag Seam
This one looks like a zigzag and is great for stretchy fabrics. It lets the fabric move without the stitches snapping.
Example: Most stretchy t-shirts and leggings use zigzag seams to stay comfy.
Overlock Seam
You’ll see this in store-bought clothes. It cuts the fabric edge and stitches it at the same time, so the fabric won’t fray.
Example: Check inside your t-shirt at the side seams—you’ll likely see an overlock seam.
French Seam
This one hides the raw edges inside the seam, making it super neat. It’s perfect for light and delicate fabrics like silk or chiffon.
Example: Used in high-end blouses and dresses to keep the inside looking just as nice as the outside.
Flat-Felled Seam
This is a strong seam that lays flat. It hides all raw edges and doesn’t fray.
Example: Ever noticed the seams on your jeans? That’s a flat-felled seam. Tough and tidy.
Lapped Seam
One fabric overlaps another and is stitched down. This one is extra sturdy and good for thick or non-fraying fabrics.
Example: Leather jackets or outdoor gear often use lapped seams.
Bound Seam
Here, a strip of fabric is wrapped over the raw edges. It looks neat and adds strength.
Example: Used for jackets or inside seams you want to look good and stay strong.
Each of these Nahttypen has its place. The key is knowing which one to use, and that depends a lot on your fabric and project type, which we’ll talk about next.
Which Seam Fits Which Fabric?
Now that you know the basic Nahttypen, the next question is: Which one should you use for your fabric? Not all fabrics behave the same. Some stretch. Some fray. Some are super slippery. That’s why matching the right seam type to your fabric is so important.
Here’s a quick way to think about it:
-
Lightweight fabrics like silk or chiffon: Use French seams or bound seams. They hide the fraying edges and give a clean finish.
-
Stretchy fabrics like jersey or spandex: Go with a zigzag seam or an overlock seam. These let the fabric move without breaking.
-
Heavy fabrics like denim or canvas: Use flat-felled seams or lapped seams. These are strong enough to hold weight.
-
Regular fabrics like cotton or linen: You can use almost any seam—plain, French, or overlock, depending on the look you want.
Just ask yourself: Will this fabric stretch? Will it fray? Does it need to look fancy inside? Your answers will lead you to the right Nahttyp every time.
Seams That Stretch: Best Options for Knits and Sportswear
Have you ever tried sewing a stretchy T-shirt and ended up with popped stitches? That usually happens when you use the wrong seam.
Stretch fabrics like jersey, lycra, or spandex need stretchy seams. If the seam doesn’t stretch with the fabric, it can rip the first time you wear it.
Here are the best Nahttypen for stretch fabrics:
-
Zigzag Seams – Easy to do on a regular sewing machine. Great for light to medium stretch.
-
Overlock Seams (Serger) – Ideal for knit fabrics. Cuts, sews, and finishes in one step.
-
Flatlock Seams – Often used in sportswear. They lie flat and don’t chafe the skin.
These seams keep your stretchy clothes comfy and strong, whether it’s gym leggings or baby clothes.
How to Sew Each Seam: Simple Step-by-Step Tips
Don’t worry—you don’t need to be a sewing pro to use these seams. You just need the right tools and a little practice. Let’s go over how to sew a few of these Nahttypen easily:
Plain Seam
-
Pin two fabric pieces together, right sides facing.
-
Sew a straight line using a regular stitch.
-
Press the seam open or to one side.
Zigzag Seam
-
Set your machine to zigzag.
-
Use medium width and length settings.
-
Great for stretchy fabrics like t-shirts or jersey.
French Seam
-
Sew fabric wrong sides together first.
-
Trim seam allowance, turn fabric inside out.
-
Sew again with right sides together to enclose the edges.
Flat-Felled Seam
-
Sew fabric right sides together.
-
Trim one seam allowance shorter.
-
Fold the other over it and stitch again to hide both edges.
Each of these seams takes just a little practice. Try them out on fabric scraps first. That way, you can get comfortable before using them on your final project.
Decorative Seams That Add Style
Not all seams are just about strength. Some are used to make your sewing project look amazing. These are called decorative seams. They hold fabric together, but they also stand out and add beauty to your work.
Have you seen jeans with a bold seam down the leg? That’s decorative. Or maybe a jacket with visible stitching that looks cool and modern? That’s the power of using the right Nahttyp for style.
Here are a few decorative seam types you might want to try:
-
Topstitching – A visible seam on the outside. It adds strength and detail. Great for jeans, bags, or shirts.
-
Flatlock Seams – These look like ladders and are used in activewear. They’re flat and comfy but also eye-catching.
-
Piped or Bound Seams – A piece of fabric (or cord) is added between two fabric layers. It pops with color and makes your seams stand out.
Decorative Nahttypen are fun and creative. Use them when you want your seams to be part of the design, not just hidden inside.
How to Finish Seams So They Last Longer
After you sew a seam, you’re not quite done yet. If you leave the edges raw, the fabric can start to fray or fall apart. That’s why seam finishing is so important.
There are many ways to finish your seams, and they don’t have to be hard or fancy.
Here are a few easy options:
-
Overlocking (Serger) – Trims and finishes the edge in one step. Very clean and quick.
-
Zigzag Stitch – Done on a regular sewing machine. It keeps the edge neat and stops fraying.
-
Pinking Shears – Special scissors that cut a zigzag edge. Great for woven fabrics.
-
Binding – A strip of fabric is sewn over the edge to protect and decorate it.
-
Double Stitching – Adds extra strength by sewing over the seam again.
When you take the time to finish your seams, your sewing projects will last longer and look more professional.
Common Seam Mistakes and How to Avoid Them
We all make mistakes when sewing. That’s part of learning. But when it comes to Nahttypen, there are a few common problems you can easily avoid.
Using the Wrong Seam Type: If your fabric is stretchy and you use a plain seam, it might rip. Always choose a seam that fits your fabric.
Forgetting to Finish the Edges: Unfinished seams can fray and ruin your work. A quick zigzag or serger pass can make all the difference.
Skipping Test Stitches: Always test your seam on a scrap piece of the same fabric. It helps you check your stitch length, tension, and look.
Using the Wrong Needle: Light fabrics need a thin, sharp needle. Heavy ones like denim need a stronger needle. Using the wrong one can break needles or damage fabric.
Not Pressing Seams: Ironing your seams flat as you go makes your work look neat and smooth. Don’t skip it!
Avoiding these small mistakes will help you enjoy sewing more and get better results every time.
Smart Seam Technology in Modern Sewing
Sewing has come a long way. In 2025, even seams have gone high-tech. Many industries now use advanced Nahttypen that don’t even need thread!
Here are a few exciting new methods:
-
Laser Seaming – Uses light to fuse fabrics together. No stitches at all.
-
Heat-Sealed Seams – Used in swimwear and rain jackets. Heat seals the fabric edges so no water gets in.
-
Welded Seams – Air-tight seams used in outdoor gear or protective clothing.
-
Conductive Seams – Found in smart clothing that connects to devices or tracks movement.
Companies like SkinPres T even use laser bonding and heat sealing to make garments that are high-performing and waterproof. These new seam types are fast, clean, and perfect for modern fabrics.
If you love mixing tech with craft, this is a fun area to explore!
How to Choose the Right Seam Every Time
Choosing the right Nahttyp can feel tricky at first. But once you ask the right questions, it gets much easier.
Here’s a quick checklist to help you decide:
-
Is the fabric stretchy or stable?
-
Will the seam need to be strong or soft?
-
Should the seam be visible or hidden?
-
Will the item be washed often?
-
Is this for fashion, comfort, or performance?
Let’s say you’re making a silk blouse. It’s lightweight, delicate, and needs to look neat. A French seam is perfect.
Or maybe you’re sewing leggings. They stretch a lot and need strong, flexible seams. Go with a zigzag or flatlock seam.
Use this checklist every time, and you’ll always pick the best seam for the job.
Seam Care: How to Keep Seams Looking Good
Even the best seam can wear out if you don’t care for it properly. To keep your Nahttypen strong and neat, follow these simple tips:
-
Wash gently – Follow the fabric’s washing instructions. Delicate seams don’t like harsh spin cycles.
-
Don’t over-stretch – Be careful with stretch fabrics. Too much pulling can break seams.
-
Fix damage early – A tiny tear can get bigger fast. Repair it before it becomes a big problem.
-
Reinforce weak points – Add extra stitches at stress areas like underarms or pockets.
With good care, your seams—and your projects—will last much longer.
Bottom-Line
Seams might seem like small details, but they are the backbone of everything you sew. The right Nahttyp makes your project strong, neat, flexible, and even stylish.
Whether you’re sewing for fun, fashion, or function, knowing how to choose and sew the right seam gives you more confidence—and better results. It’s one of the easiest ways to level up your sewing skills.
So next time you start a project, don’t just pick any seam. Think about the fabric. Think about the look. Think about how it needs to move and last. Then pick the Nahttyp that fits just right.
Because when your seams are strong, your whole project shines.
Other Articles You May Read: