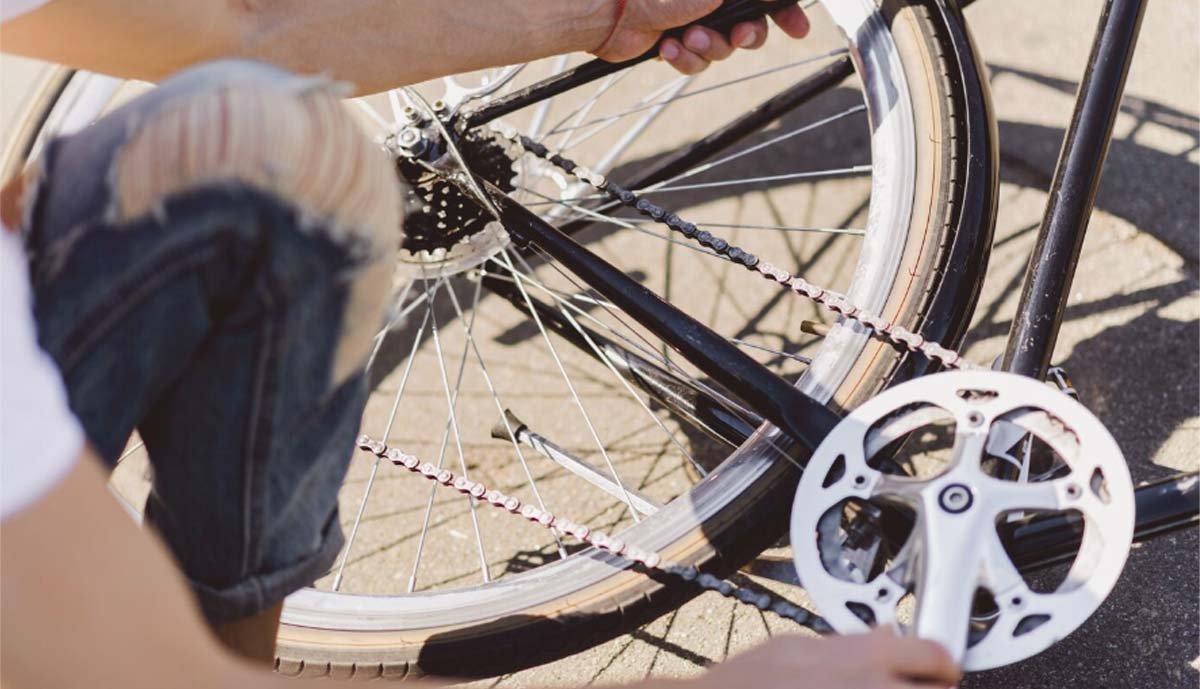
Swapping out a road bike chain might look tricky, but you can do it with the right gear and know-how. Knowing the right time and which ones fit can boost your ride. This replacement guide will show you how to do it like a pro. We’ll cover key tips and tricks to keep your road bike in the right shape for better rides. Let’s dive in!
Tools for replacing a road bike chain
Before we jump into the steps, you need to grab some tools and learn a few handy tips about replacing. Having the proper tools makes the job quick and easy. Here’s what you need:
- chain checker – this tool helps you determine when to replace your bicycle chain by measuring its wear;
- degreaser and brush – clean up your drivetrain before the new component goes on for the best performance;
- quick link pliers – make life easier if your new chain has a quick link.
Replacing a bike chain on a road bike might look hard, but with the correct knowledge and tools, it turns into a task you can manage.
Tips for a successful replacing
If you prepare well and use these tips provided by the experts at Domexbikes, you’ll make the replacement process easier so that your road bike performs at its best:
- to prevent problems with chain compatibility and performance, always buy the correct chain that is compatible with your bike’s drivetrain parts;
- clean your drivetrain before you put in a new detail to keep dirt away and to ride. Also, check the wear on other components first or the new chain won’t work. Here we need to mention the cassette teeth and the teeth of the chainrings. The force of the chain causes the teeth of the sprocket to wear, changing their shape. This wear widens the distance between the teeth, causing the chain to loosen and potentially slip. Chains typically need replacing more often than rear cassettes, and the latter more often than front sprockets;
- make sure you have the component at the right length. Match rivets on the used chain to the new chain or use the largest cog & largest chainring method:
- for bicycles with rear cogs having a maximum of 36 teeth or fewer, the usual method to measure the chain length is to use the largest rear cog and the largest front chainring as a reference. Then, two rivets (one inch) are added to determine the final chain length;
- if the rear cogs have 42 teeth or more, such as in a special 1X system, additional chain links are added as described in section 5.
Follow these recommendations for the best results of replacement.
Step-by-step guide: How to replace your bike chain
Replacing your road trip bike chain involves several important steps. Follow this complete guide on how to install a new chain to make sure you do each step right:
Remove the old chain
Optionally, remove the rear wheel to ease tension on the chain.
Master link chains
Check the circuit for the presence of a master link that has unique side plates, often of a different colour. Locate it at the bottom of the chain and use master link pliers to disconnect it. If your chain is worn and you have a chain tool, you can break the chain using the tool without paying attention to the master link.
Measure and cut the chain
If the original chain length was correct, use it to size the new chain. Align the ends with the outer plates and insert the master link for an accurate side-to-side comparison. Match inner to inner or outer to outer for accurate length comparison. Note that the old chains have lengthened due to wear. Cut the new chain to match the old chain.
Laying the circuit
Inspect the chain’s side plates. Some are pointing outwards, with the logs pointing outwards. Pass the chain through the rear derailleur, noting any lugs on the housing. Insert the chain inside the frame, through the front derailleur, and bring the two ends together.
Connect the riveted chains
Use the appropriate connecting rivet for your chain as each is specific to the make and model. Insert the rivet into the chain, noting two points of resistance. Match the depth of adjacent rivets and break off the pilot tip of the connecting rivet.
Reinstall the wheel if disassembled, go back to check for tight connections, and bend the chain laterally to repair if necessary. If skipping occurs, it may indicate a worn cassette or sprockets on the freewheel, requiring replacement.
Here are some key indicators that it’s time to replace the component – stretch, skipping gears, even after adjustments, visible wear, such as elongated links or damaged rollers, and excessive noise, despite proper lubrication and mileage. As a general rule, consider replacing every 250 to 310 miles, depending on riding conditions and maintenance practices.
Once you finish these steps, your new chain will be installed and ready to use. Regular upkeep and checks at intervals will keep your road bike chain in great shape giving you a smooth and efficient ride.
The procedure of replacing may seem challenging, but with the right knowledge and tools, it becomes a manageable task.
Regular checks and replacing when needed help keep the bike’s performance and life. By dealing with wear, you can prevent expensive fixes and have a smoother more effective ride.

 Health2 years ago
 News6 months ago
 Technology2 years ago
 Celebrity2 years ago


