Have you ever looked at an old black-and-white photo and wished you could see it in full color? The faces, clothes, and scenery seem to whisper stories that color could bring to life. Colorizing photos is like time travel with a digital twist.
It can turn faded history into something fresh and real. Modern tools make this creative process easier than ever. Even beginners can learn to do it beautifully.
By following this guide, anyone can transform monochrome memories into colorful treasures. Read on!
Learn What Photo Colorization Means
When you colorize old black-and-white photos, you add color to them. It takes creative ideas and digital tools and brings them back to life. The goal is not to change the history of the photo, but to make it better.
Skin, fabric, and background are all different and need their own tones. When you know how colors affect mood and reality, every picture you take can be turned into a new painting.
Choose the Right Tools for the Job
You’ll need a reliable photo editing program before you start colorizing. Many people use Photoshop, but there are free alternatives like GIMP and online apps. These programs allow you to paint, blend, and layer colors easily.
Some platforms even use AI photo colorizer technology to automatically apply realistic shades in seconds. Pick a tool that feels comfortable and gives you control over each color layer.
Prepare Your Black-and-White Image
Take the time to clean up the picture before you add color. Get rid of any scratches, stains, or dust that take attention away from the main subject.
Change the brightness and contrast to bring out details that will help you color. Cutting the picture down can also help you see what’s important. If you start with a clean, clear photo, the colors will look natural and balanced when you’re done.
Start Adding Base Colors
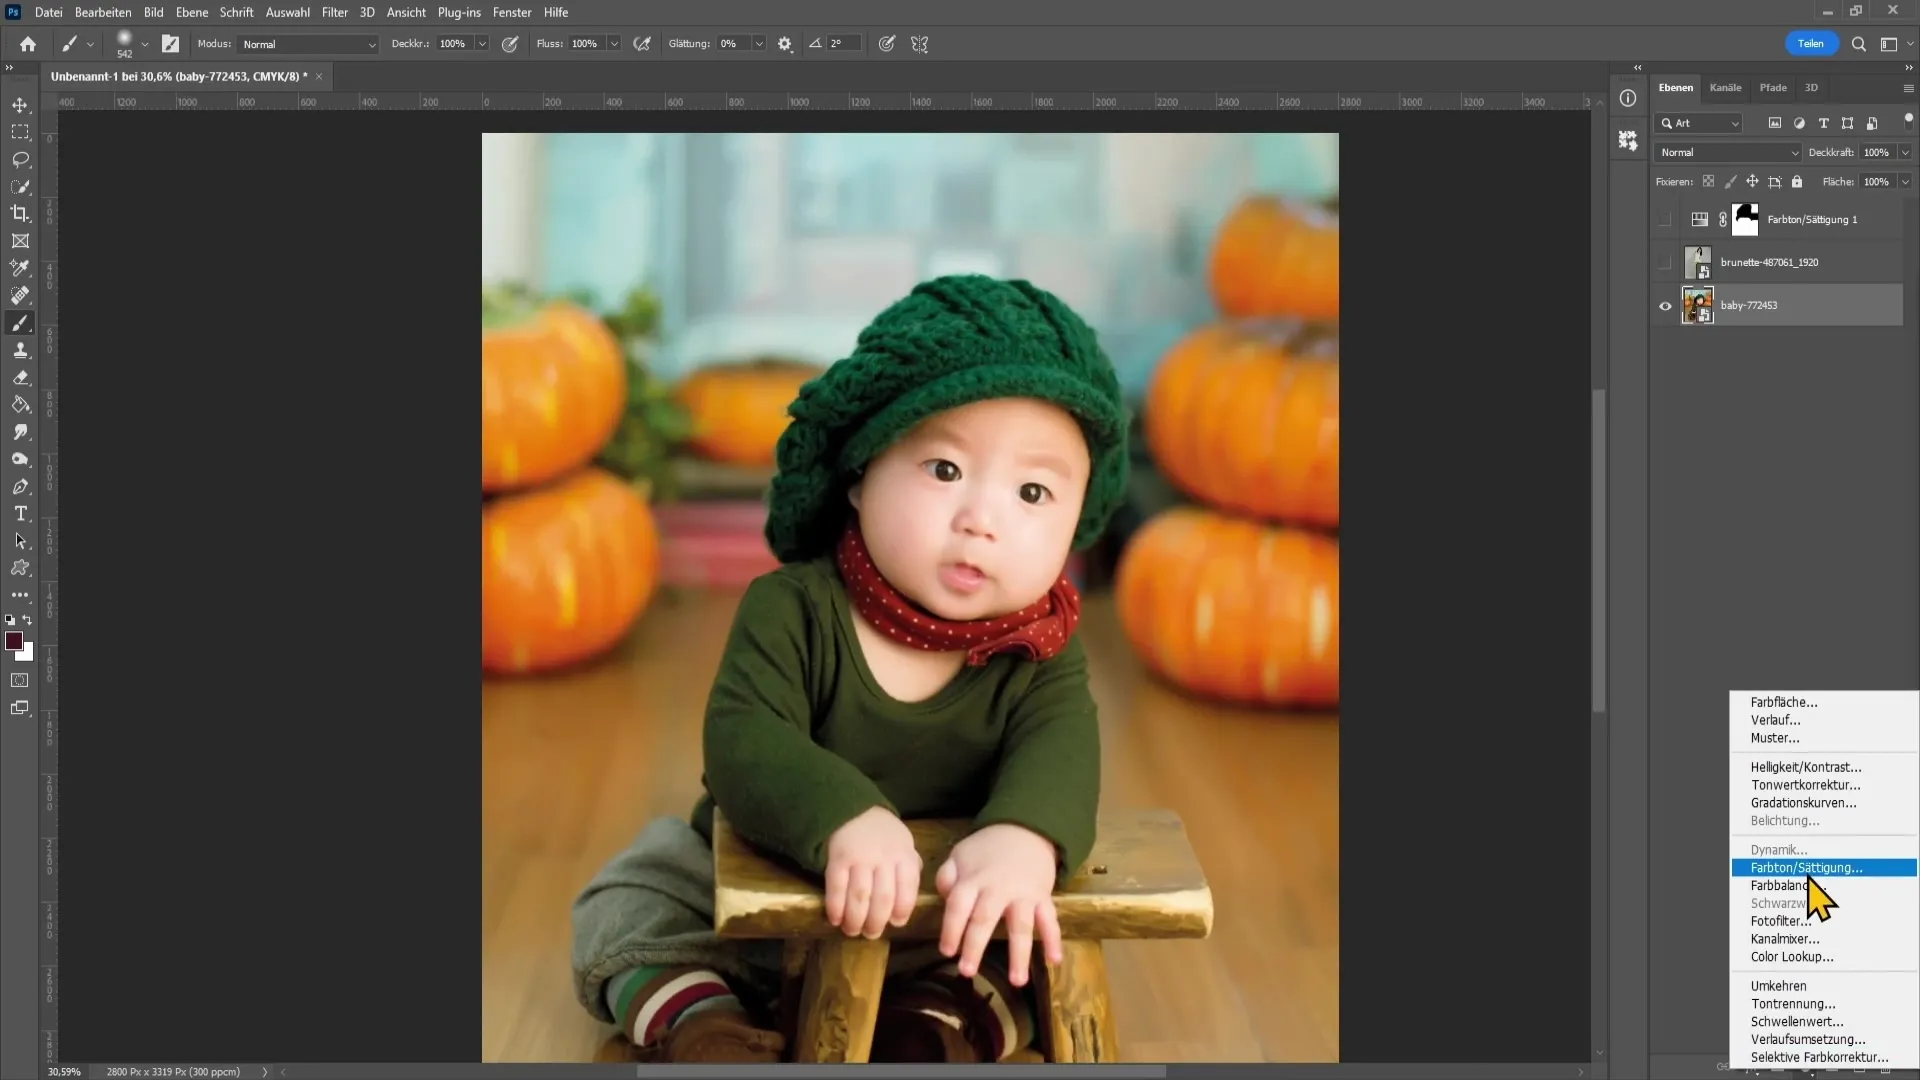
Begin by selecting areas like skin, hair, or background, then apply light base colors. Use gentle brushes and low opacity so the original details remain visible.
Build color slowly-layer by layer-until you get the tone you want. It’s better to start subtle and add more depth later. This gradual process helps make every part of the photo blend harmoniously.
Add Realism with Shadows and Highlights
Shadows and highlights bring dimension and life to your colorized photo. Darker shades add depth, while highlights make the image feel vibrant. Focus on where the light source naturally hits the subject.
Adjust saturation to keep the tones from looking fake or overdone. This step turns flat coloring into something beautifully realistic and emotional.
Review, Adjust, and Export
Once you finish coloring, step back and review the whole image. Make sure the tones look even and the mood feels authentic. Adjust contrast or hue if anything looks too strong.
Save your file in a high-quality format, such as PNG or TIFF, to preserve all details. Keep an editable version too, so you can tweak it anytime inspiration strikes.
Bringing Old Black-And-White Memories to Life
To bring old memories back to life, learning how to colorize photos is like breathing new life into them. Each stroke of the brush brings the past and present together in a very personal way.
The result is always magical, no matter if you use digital tools or an AI-powered shortcut. You will get better at color mixing and find your own style if you keep practicing. As you keep trying new things, those grayscale moments will come back to life.
Did you like this guide? Great! Please browse our website for more!

 Health2 years ago
 News6 months ago
 Technology2 years ago
 Celebrity2 years ago


