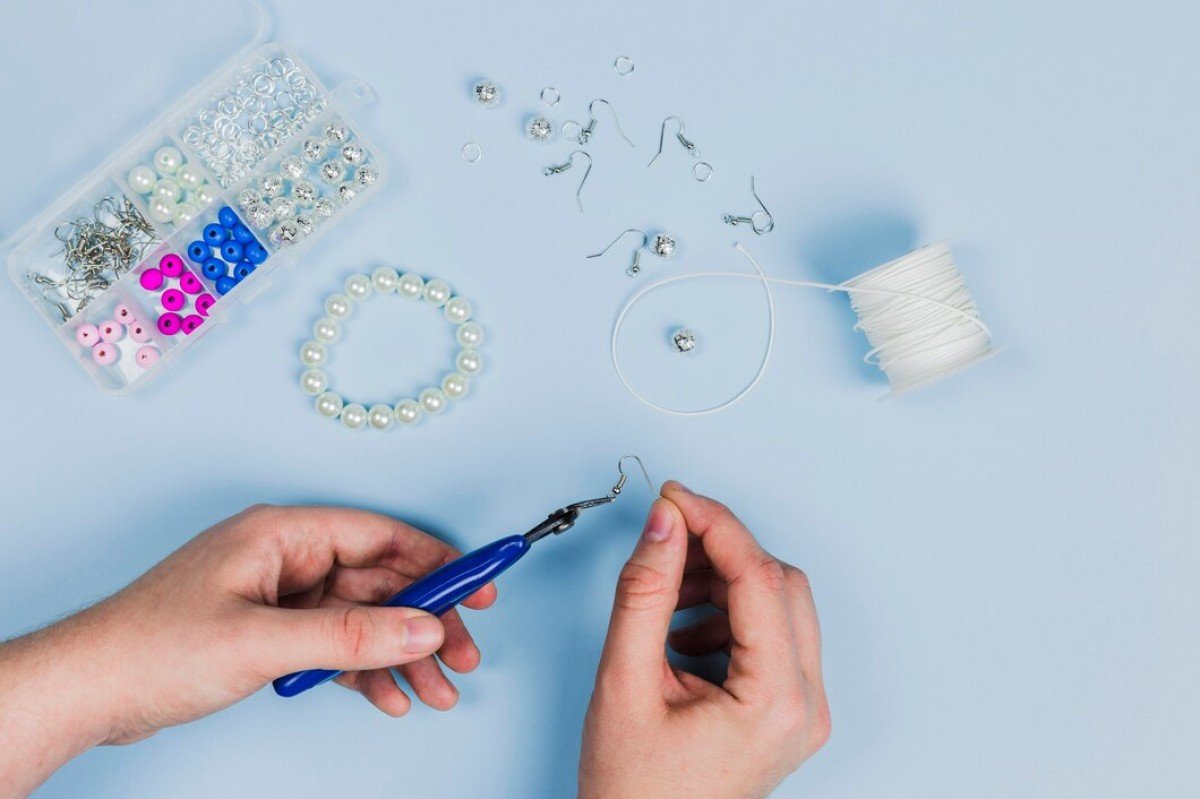
Looking to elevate your DIY projects? Rhinestones are the perfect solution. These small, glittering gems can transform ordinary items into dazzling creations. For the best selection, check out rhinestones for crafts. Whether you’re embellishing clothing, decorating home accessories, or crafting jewelry, rhinestones offer endless possibilities.
Why Use Rhinestones?
Rhinestones add a touch of glamour. They mimic the brilliance of diamonds without the hefty price tag. Available in various sizes, colors, and shapes, they offer versatility for any project. Flat-back rhinestones are great for fabric, paper, or any smooth surface. They’re easy to apply with glue or heat. Pointed-back rhinestones are perfect for embedding into materials like clay or resin.
Craft Ideas with Rhinestones
1. Customize Clothing
Add rhinestones to jackets, jeans, or hats for a unique look. Create patterns or write out names. Iron-on rhinestones are ideal for these projects. Just position them, press with an iron, and you’re done. Simple, yet effective.
2. Home Décor
Use rhinestones to jazz up home accessories. Mirrors, picture frames, and vases become focal points with a little sparkle. Arrange rhinestones in patterns or use them as accents. A strong adhesive like E6000 will keep them secure. These projects are quick, easy, and make great gifts.
3. DIY Jewelry
Design your own jewelry with rhinestones. Earrings, bracelets, and necklaces can be transformed into statement pieces. Use flat-back rhinestones for a sleek finish. Attach them to metal bases with jewelry adhesive. You can also use wire wrapping techniques for a more intricate design.
4. Nail Art
Add rhinestones to your nails for extra bling. Flat-back rhinestones are perfect for this. Apply them with nail glue for a long-lasting hold. Create intricate patterns or keep it simple with just one or two stones. It’s an easy way to elevate your look.
How to Apply Rhinestones
Different projects require different application methods. Here’s a quick guide
- Glue. Best for flat surfaces like fabric or paper. Use a precision applicator to avoid mess.
- Heat. Use a hotfix tool for fabrics. The heat activates the adhesive on the back of the rhinestones.
- Sewing. Perfect for items that will be washed frequently. Sewing ensures the rhinestones stay in place.
Always let glue dry completely before handling the item. This prevents the rhinestones from shifting.
Beginner Tips
New to using rhinestones? Start small. Try customizing a phone case or notebook cover. Both projects are simple and don’t require many materials. Arrange your rhinestones first, then glue them down. Use tweezers for precise placement.
Headbands are another beginner-friendly project. Use flat-back rhinestones and a strong adhesive. Let them dry completely before wearing. This project is quick and adds a stylish touch to your accessories.
Advanced Techniques
Ready to take your rhinestone skills to the next level? Try rhinestone encrusting. Cover an entire surface with rhinestones for a dramatic effect. It’s time-consuming but worth the effort. Color blending is another advanced technique. Use rhinestones in various shades to create a gradient effect. It’s great for larger projects like wall art or trays.
Swarovski crystals are perfect for advanced projects. They offer unmatched brilliance and are available in a wide range of colors. Though pricier, the quality is undeniable.
Conclusion
Rhinestones are a simple yet effective way to enhance your DIY projects. Whether you’re a beginner or an experienced crafter, they offer endless creative possibilities. From clothing to home décor, the options are limitless. Don’t forget to explore the wide selection of rhinestones for crafts to find the perfect gems for your next project. Get crafting and let your creativity shine!

 Health2 years ago
 News6 months ago
 Technology2 years ago
 Celebrity2 years ago


